You’ll need
- About 5 minutes
- An NFC-enabled Android phone
- A Lightning address for payouts, from any supported wallet
Part one
Set up your terminal.
These four screens create the wallet your terminal takes payments into. Then you are trading.
What is a mint? The service that issues and holds the Cashu balance your terminal takes in. It is not your payout wallet. You pick a mint in step 3, and Part two moves the money on to a wallet you own.
- 1
Install the app
Download the latest APK from GitHub releases or Zapstore. When you open the file, Android asks you to allow installs from this source. That prompt is normal for any app from outside the Play Store. Approve it, finish the install, then tap the white Get Started button.
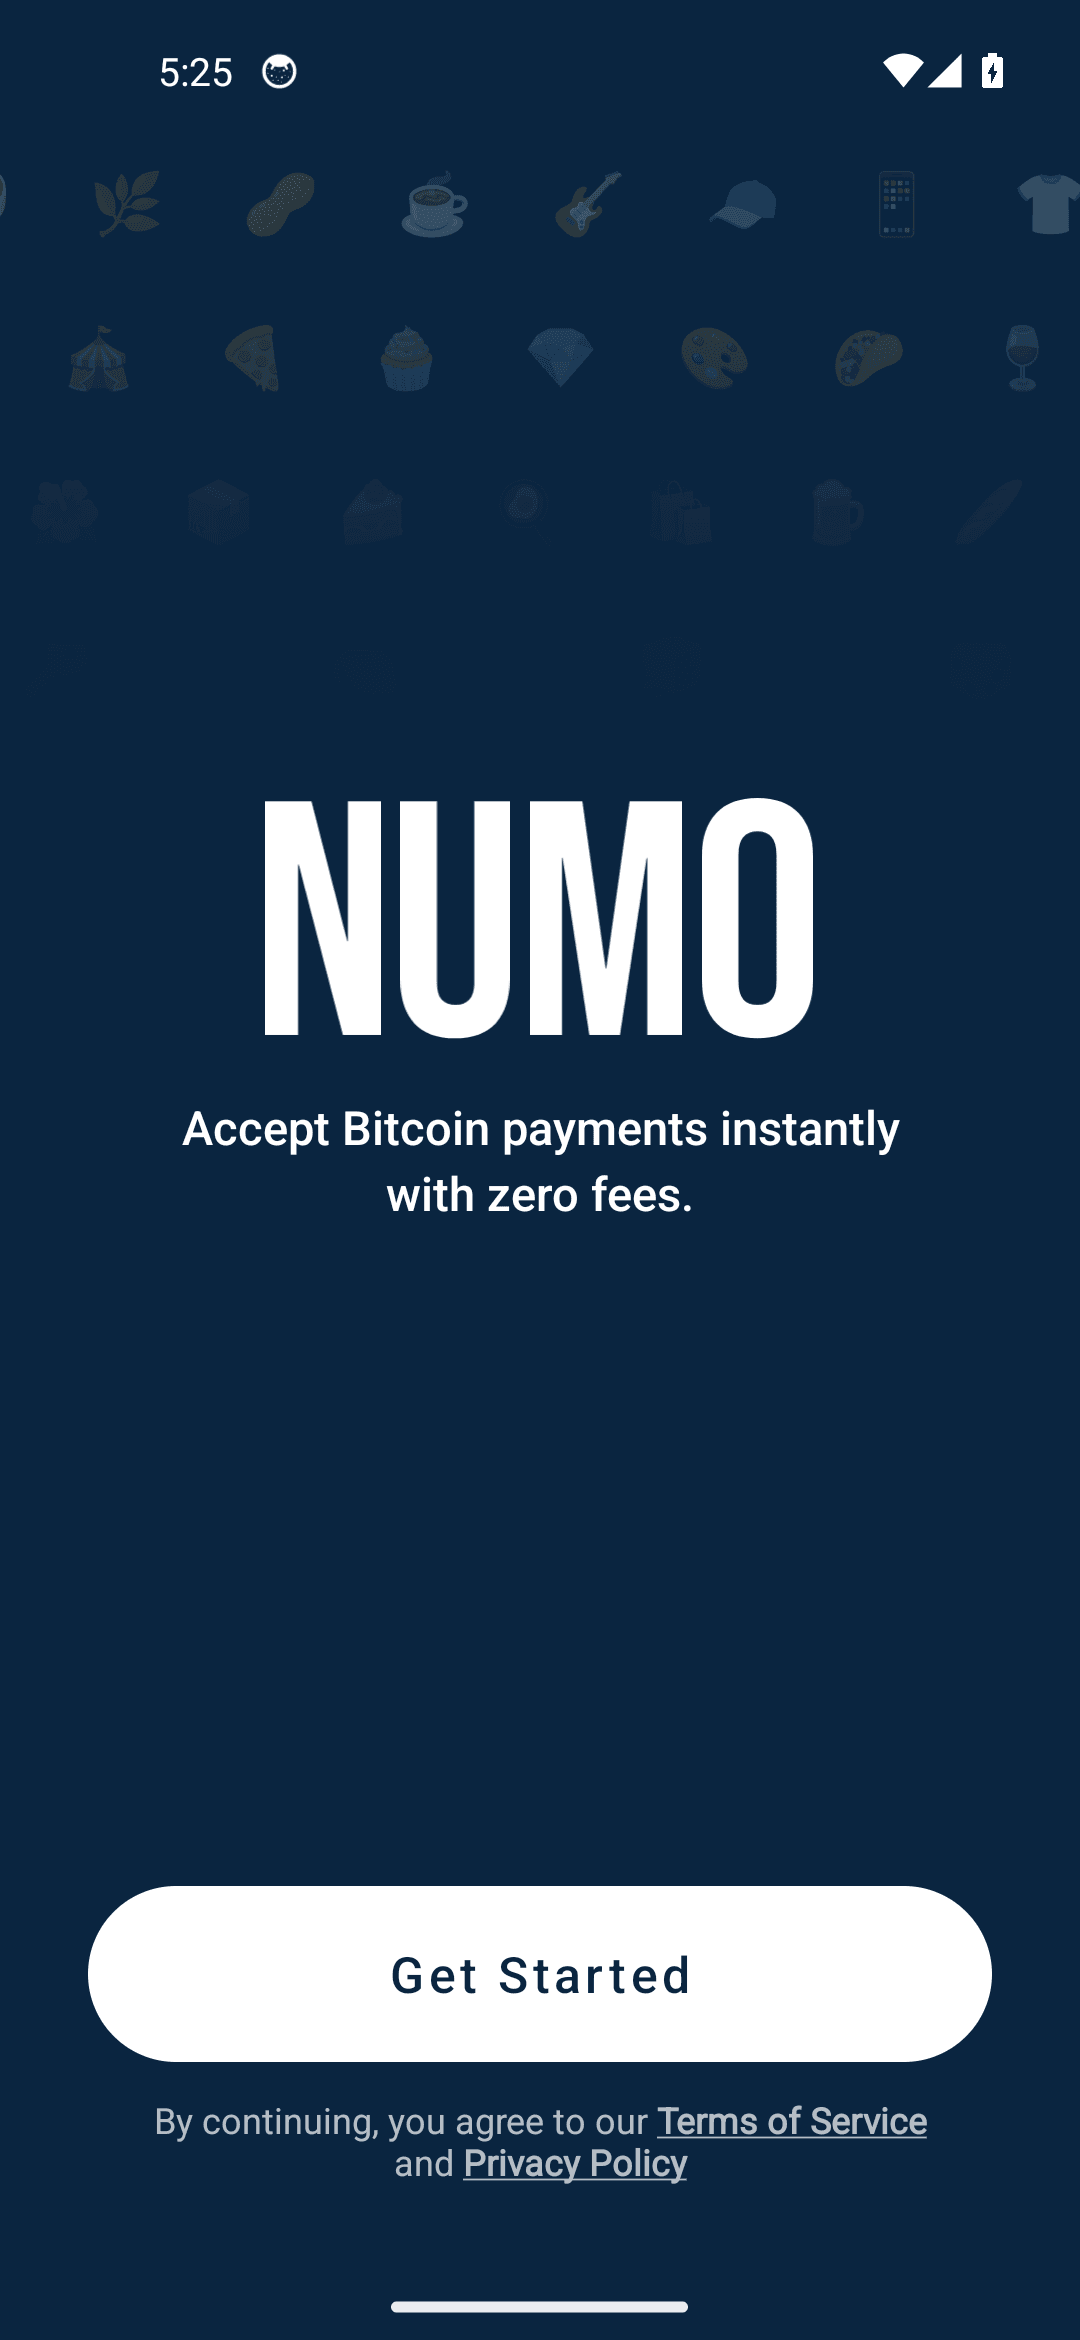
Tap Get Started on the welcome screen. - 2
Create your wallet
Tap Create New Wallet. Only choose Restore From Backup if you already have a Numo 12-word recovery phrase.
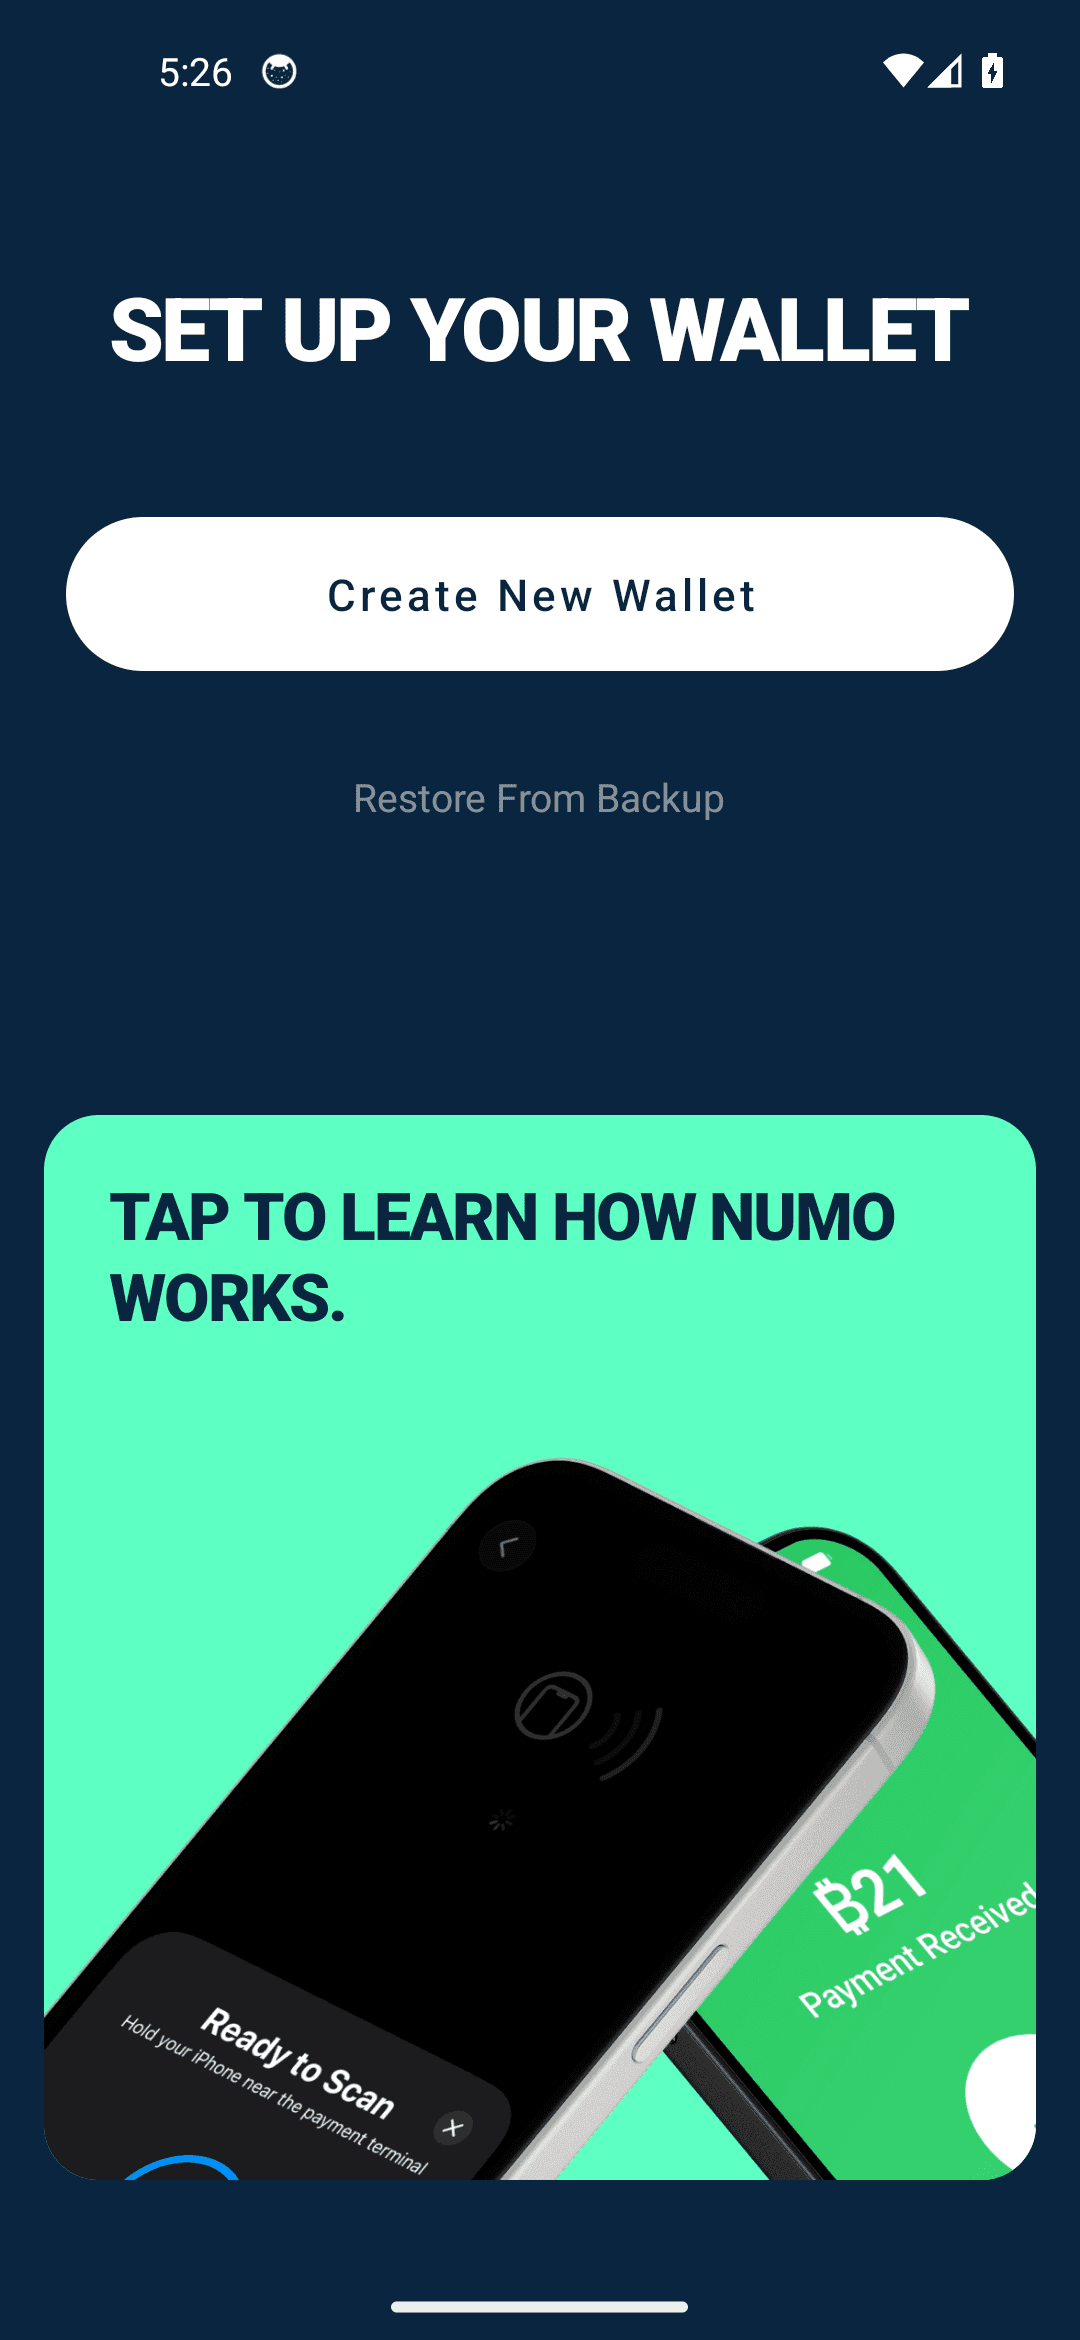
New merchants should choose Create New Wallet. - 3
Keep or change the default mint
Numo picks a default mint for you. Leave it and tap Continue to start trading soonest. To use a different one, tap any mint in the popular list, or use Add New Mint if your business already has one.
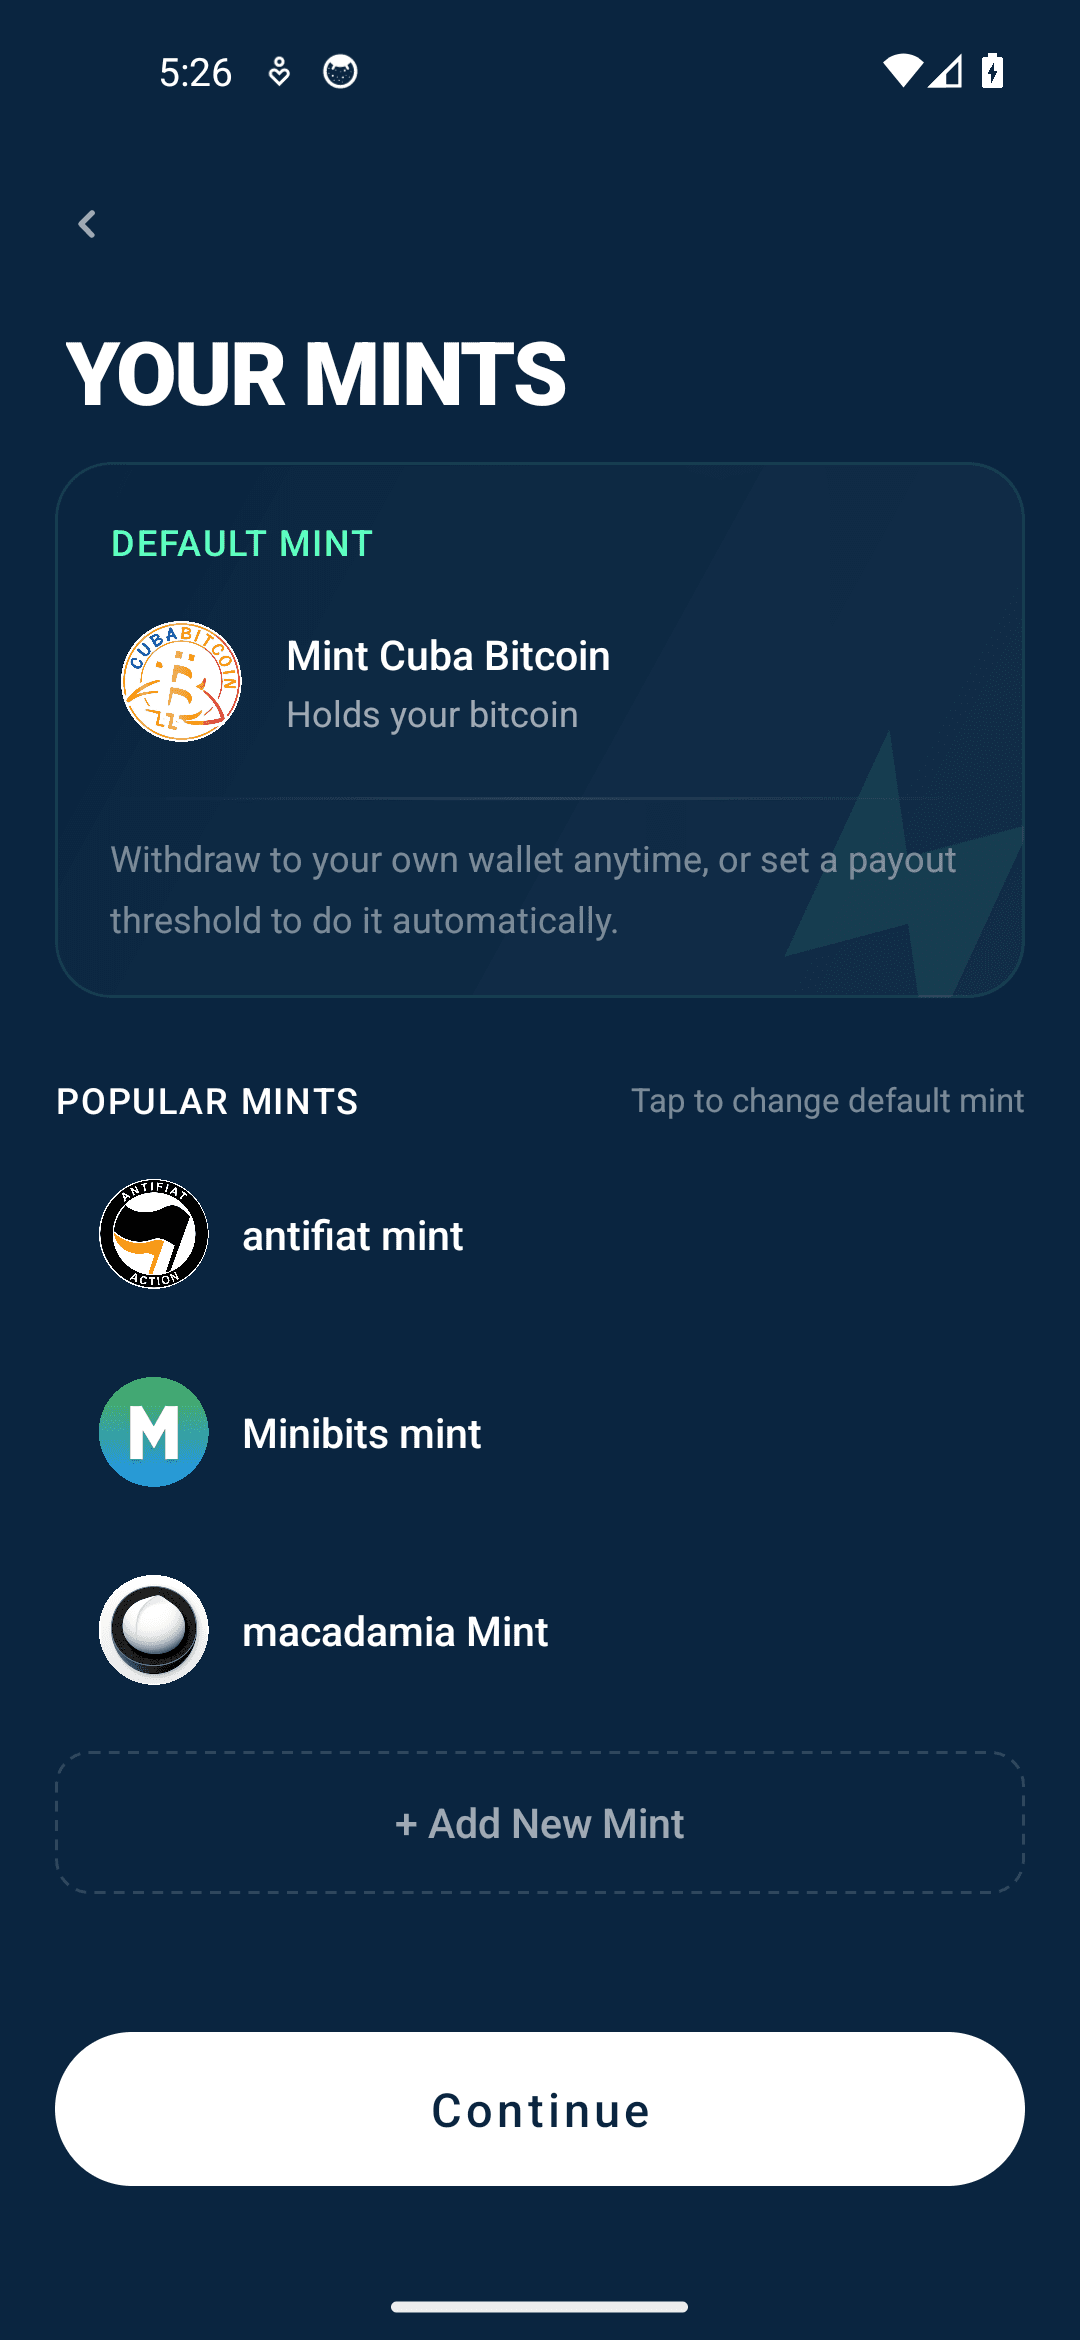
The top card is where incoming Cashu payments are held. - 4
Enter the till
Wait for Wallet Created, then tap Continue. The green keypad is your till.
Before you trade, open Settings → Security & Privacy and write your recovery phrase down offline. It is the only way back into this wallet.
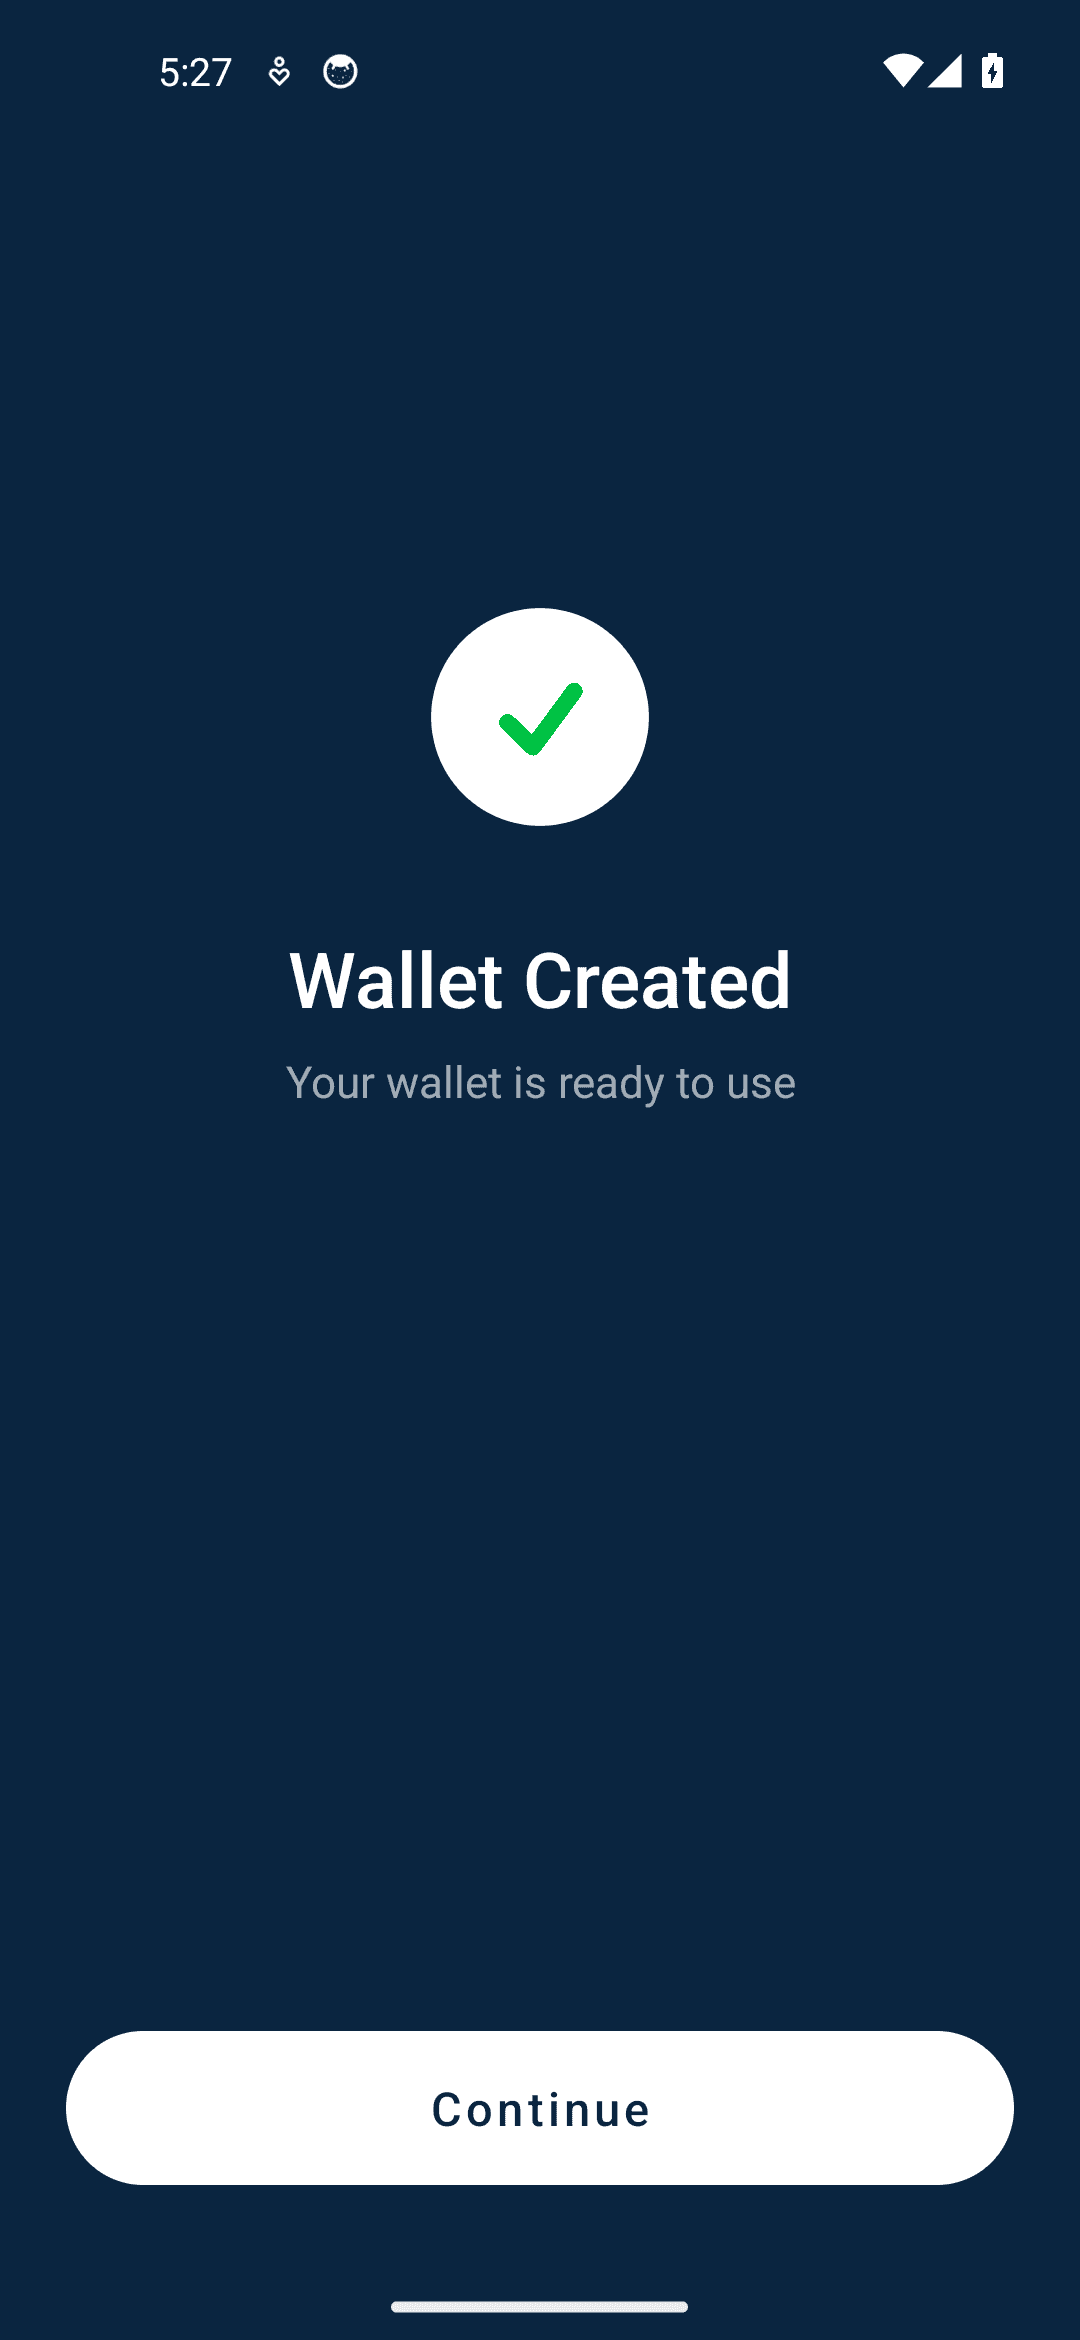
This confirmation means the terminal is ready.
Part two
Send sales to your wallet.
A Lightning address looks like an email address, for example shop@wallet.com. Numo sends funds there every time the terminal balance reaches an amount you set.
- 1
Open Withdrawals
From the till, tap the gear in the top-right corner. Under Payments, tap Withdrawals.
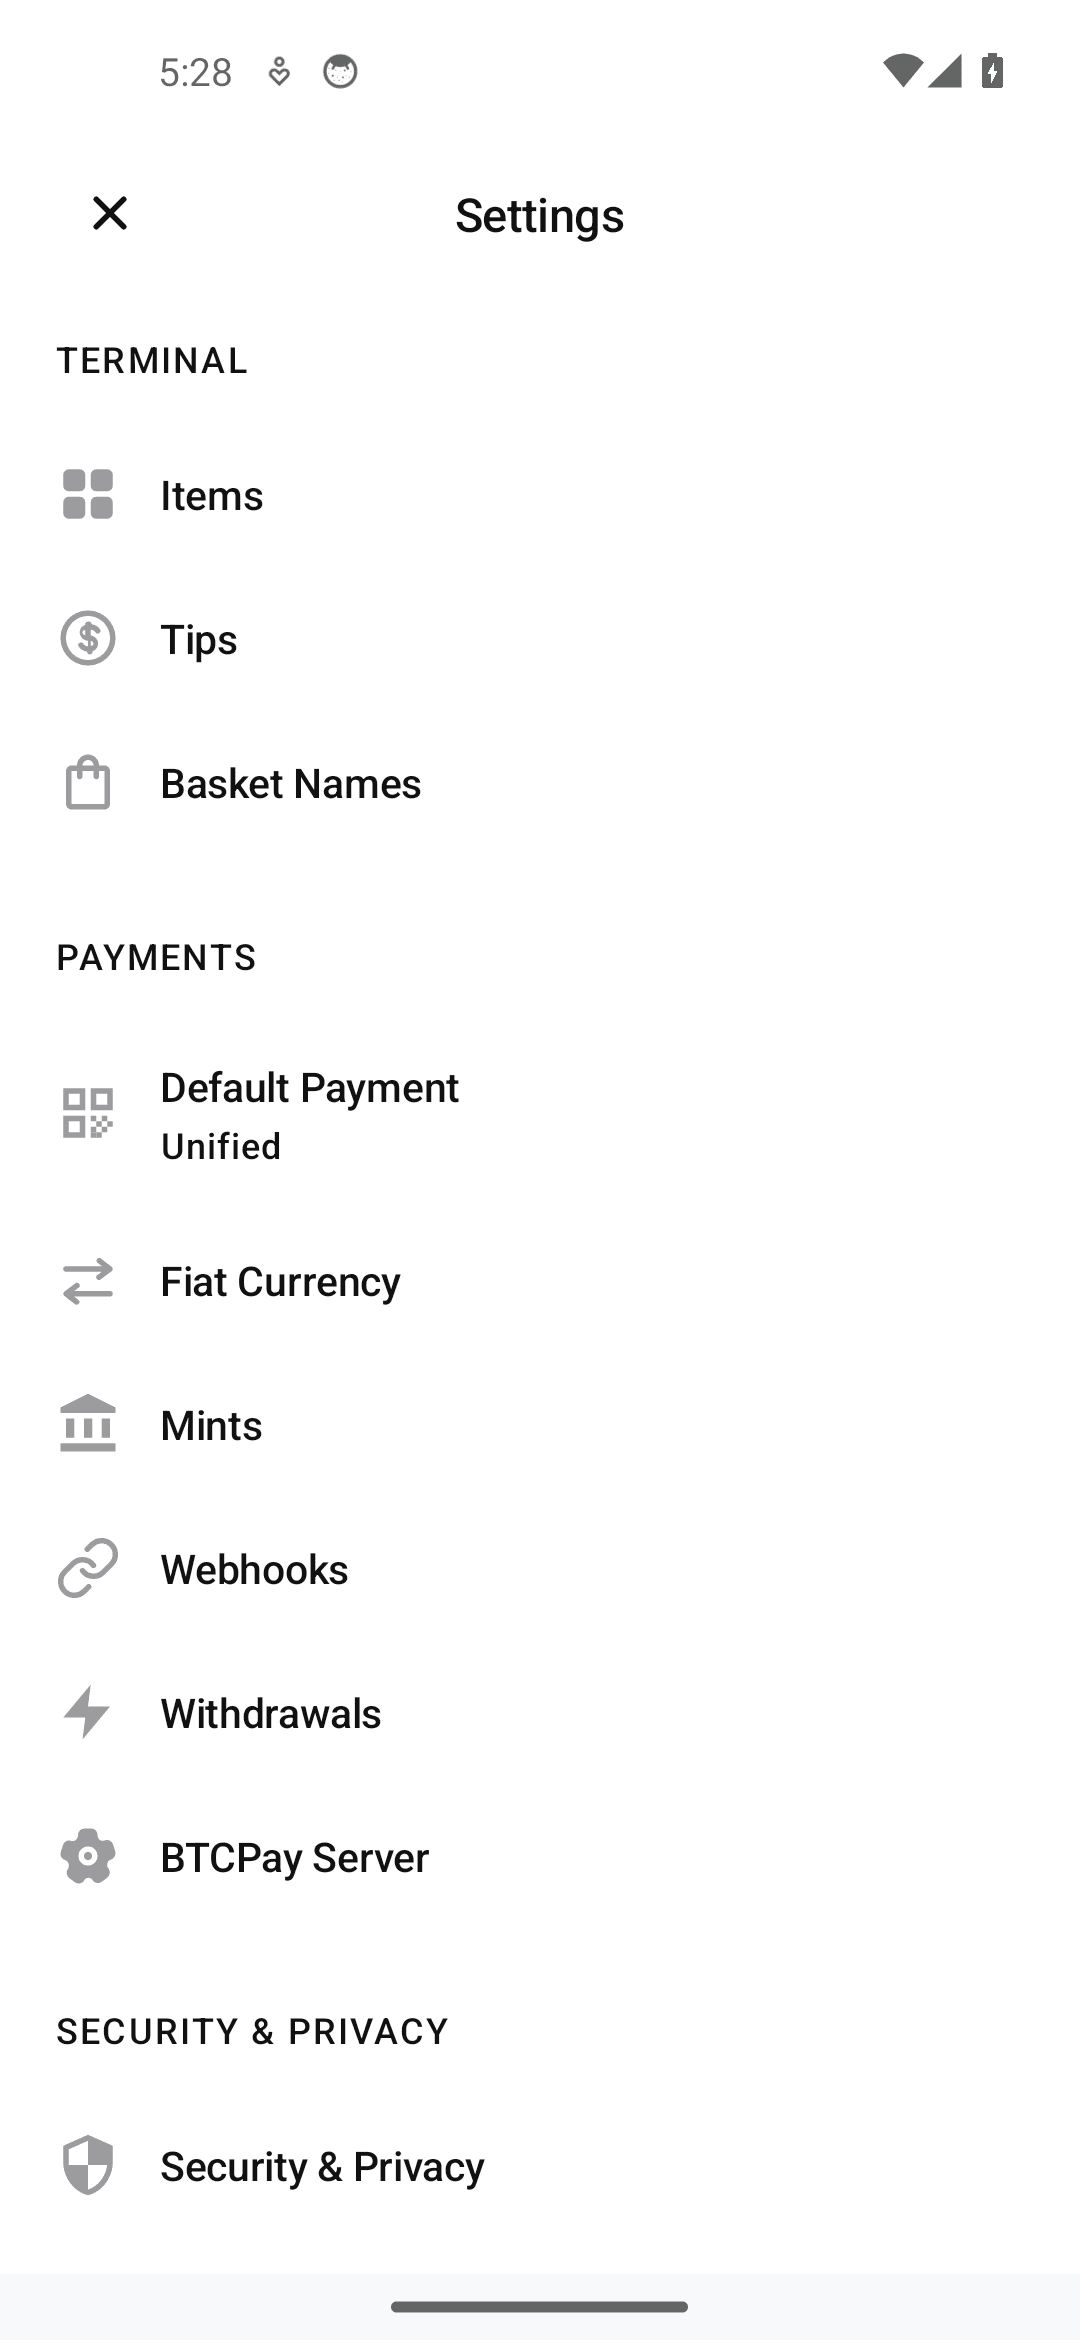
Settings, with Withdrawals outlined. - 2
Switch on Auto-Withdraw
The Withdraw screen opens with the status reading Inactive. Turn on the Auto-Withdraw switch. The status flips to Active, and the destination and trigger settings appear underneath, as in step 3.
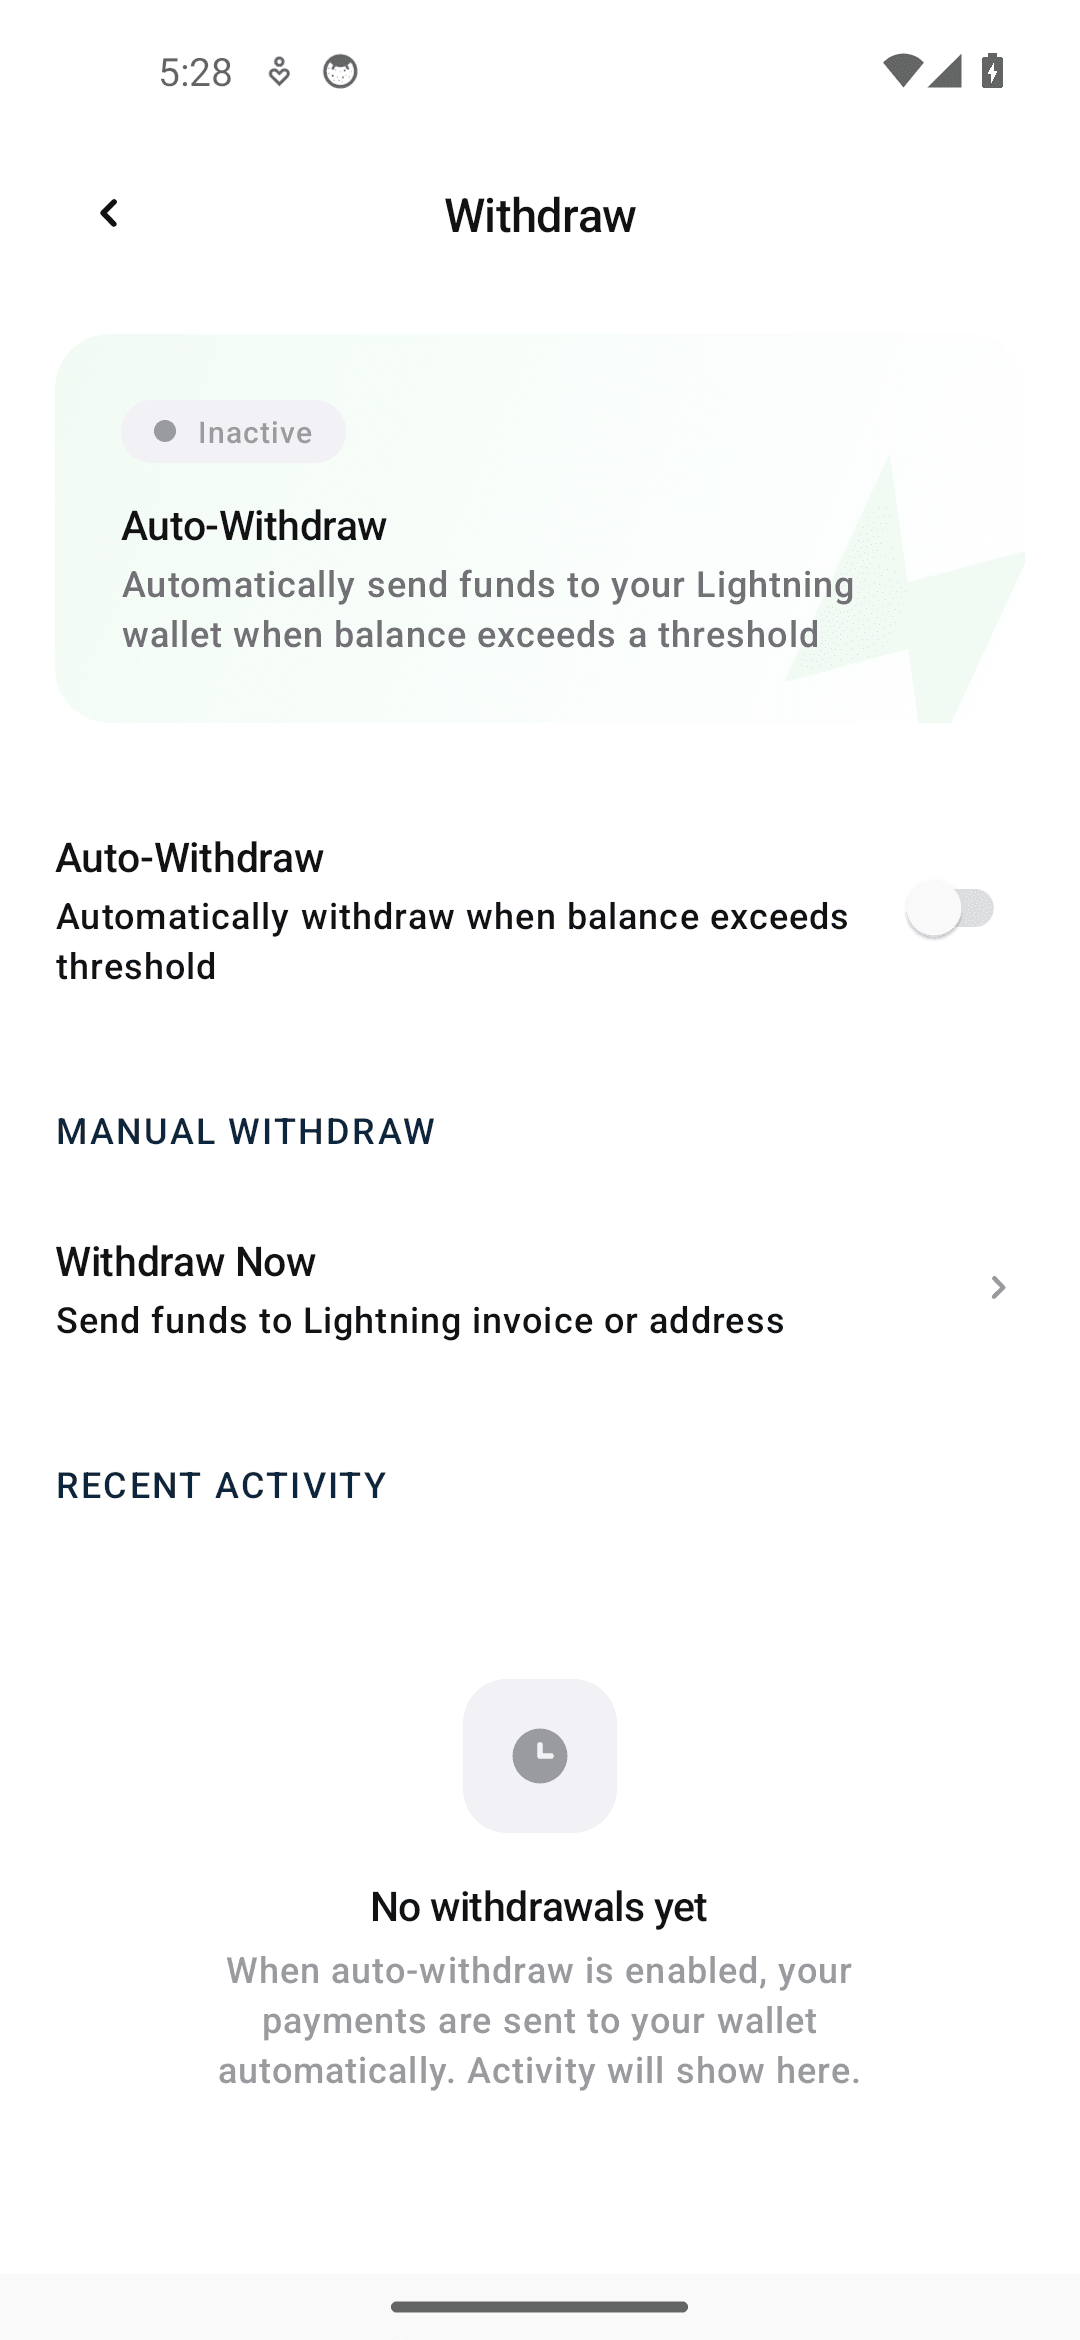
Before the switch: no destination, no trigger settings. - 3
Fill in the three settings
They all live on this one screen. There is no Save button, because Numo stores each value as you change it.
- A. Lightning Address
- Tap the field and enter the address your Lightning wallet gave you. Wait for the green Valid Lightning address message before moving on.
- B. Balance Threshold
- The balance that triggers a payout. Numo checks your address and raises this figure if your wallet needs a larger minimum.
- C. Withdraw Amount
- The share of the balance to send. The remainder stays on the terminal to cover network fees.
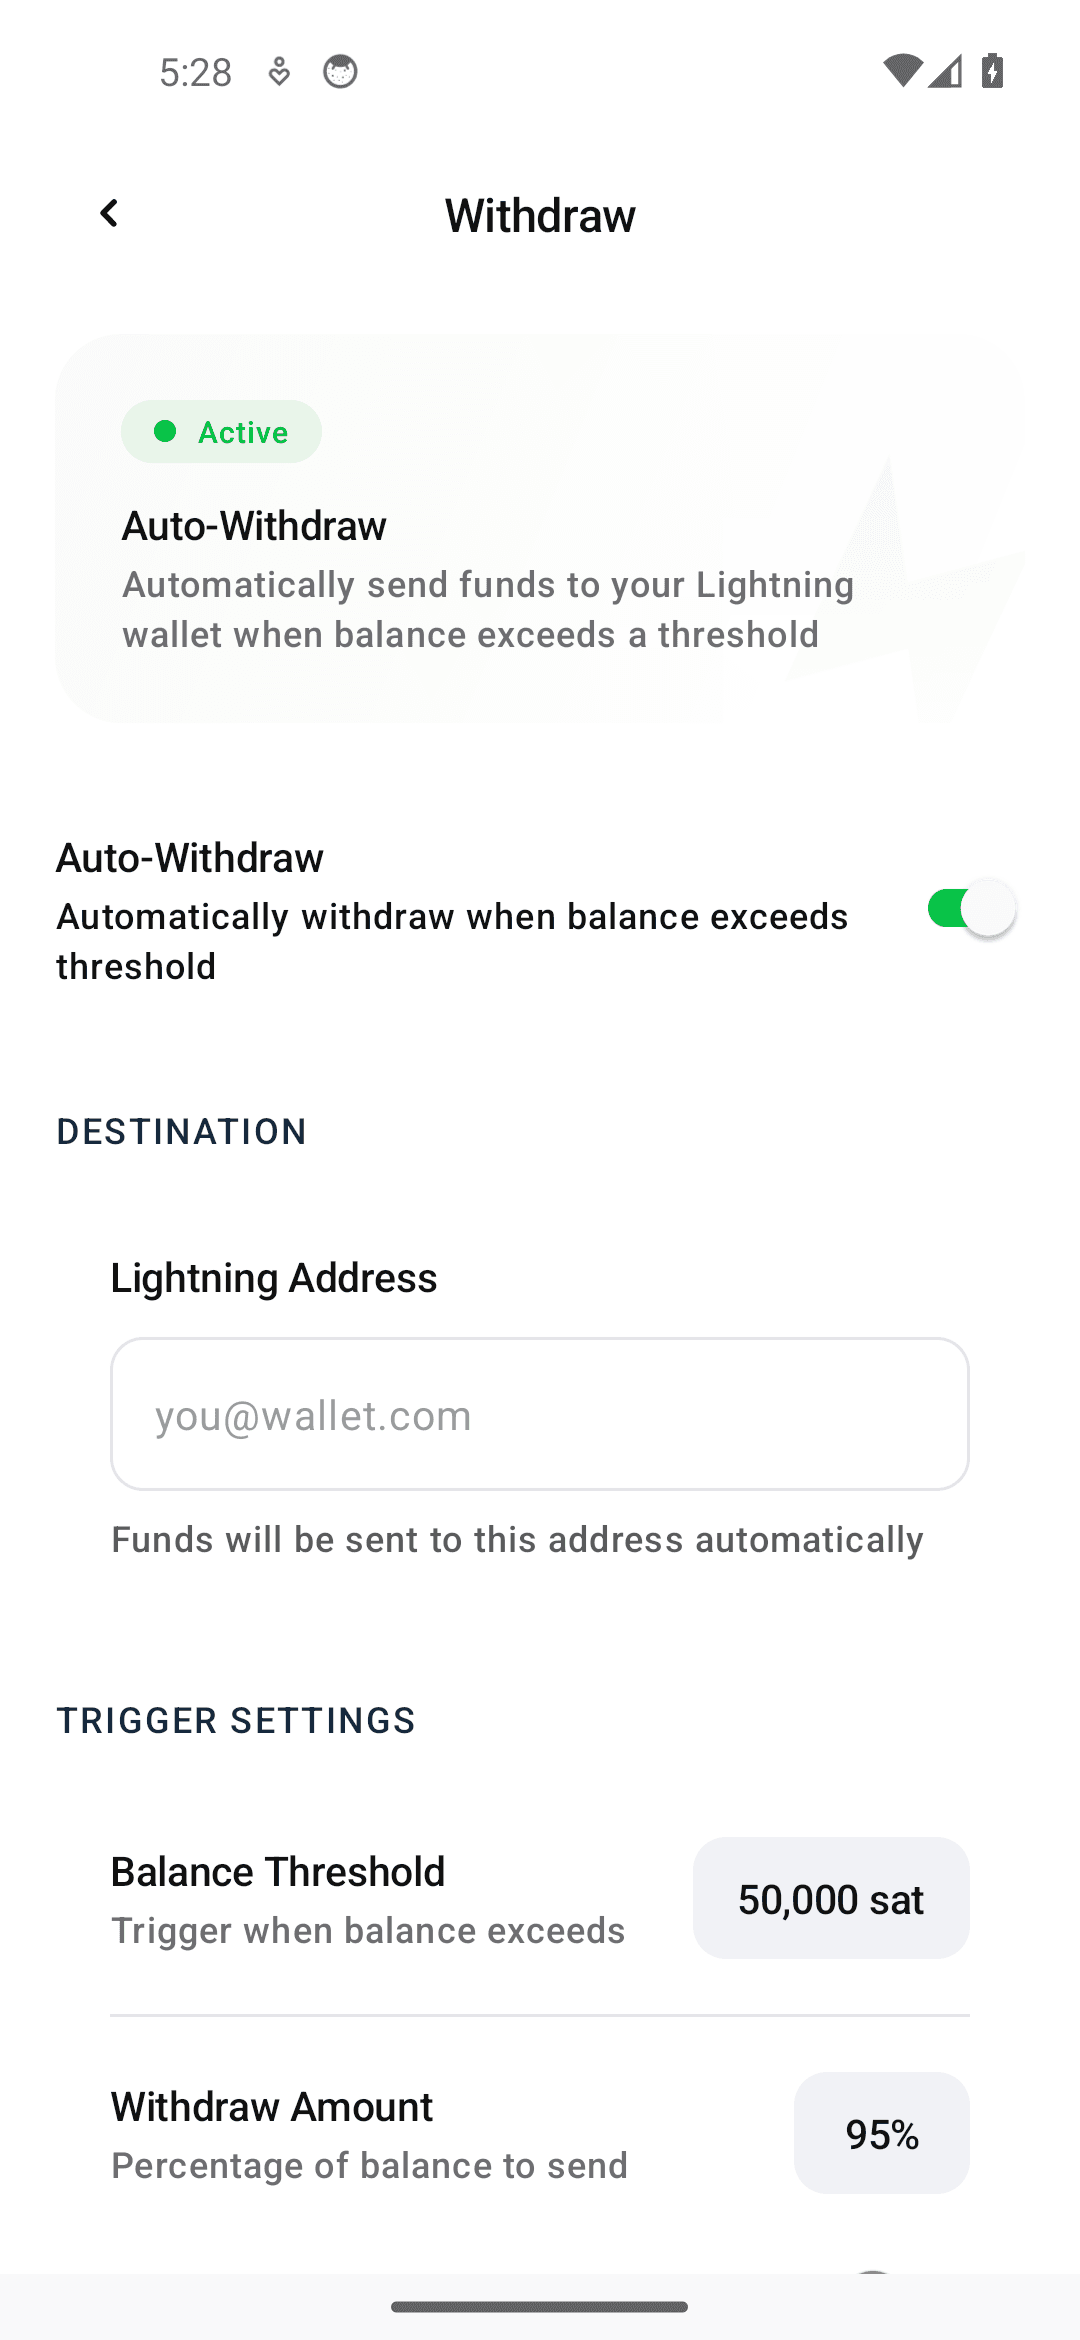
After the switch: Destination and Trigger Settings have appeared. A, B and C mark the three values to set.
That’s the till open.
When the badge at the top of the Withdraw screen reads Active, sales land on the terminal and move to your Lightning wallet without you touching anything. Take one small payment and watch a full round trip before you trade.
50,000 sats in.95% out.
Numo ships with those two values. Change either to match a day’s takings. A busy counter can sit on a higher threshold. A market stall usually wants a lower one.
Check after the test sale
- The sale appears in Activity
- The payout badge still reads Active
- Your Lightning address still shows as valid
- The terminal is charged and connected